Step 1: Safe Hoisting
The hoisting belt must pass through the eye bolt and be symmetrically distributed to prevent the mould from tilting or falling off.
Hoist the mould slowly, pause when it is 10-20cm above the ground for inspection: check if the eye bolt is firm and if the mould is balanced. After confirmation, move it slowly between the tie bars of the injection molding machine.
Step 2: Preliminary Alignment
Adjust the height of the mold so that the mold locating ring is aligned with the locating hole of the injection molding machine's fixed plate, and let the locating ring fit into the locating hole.
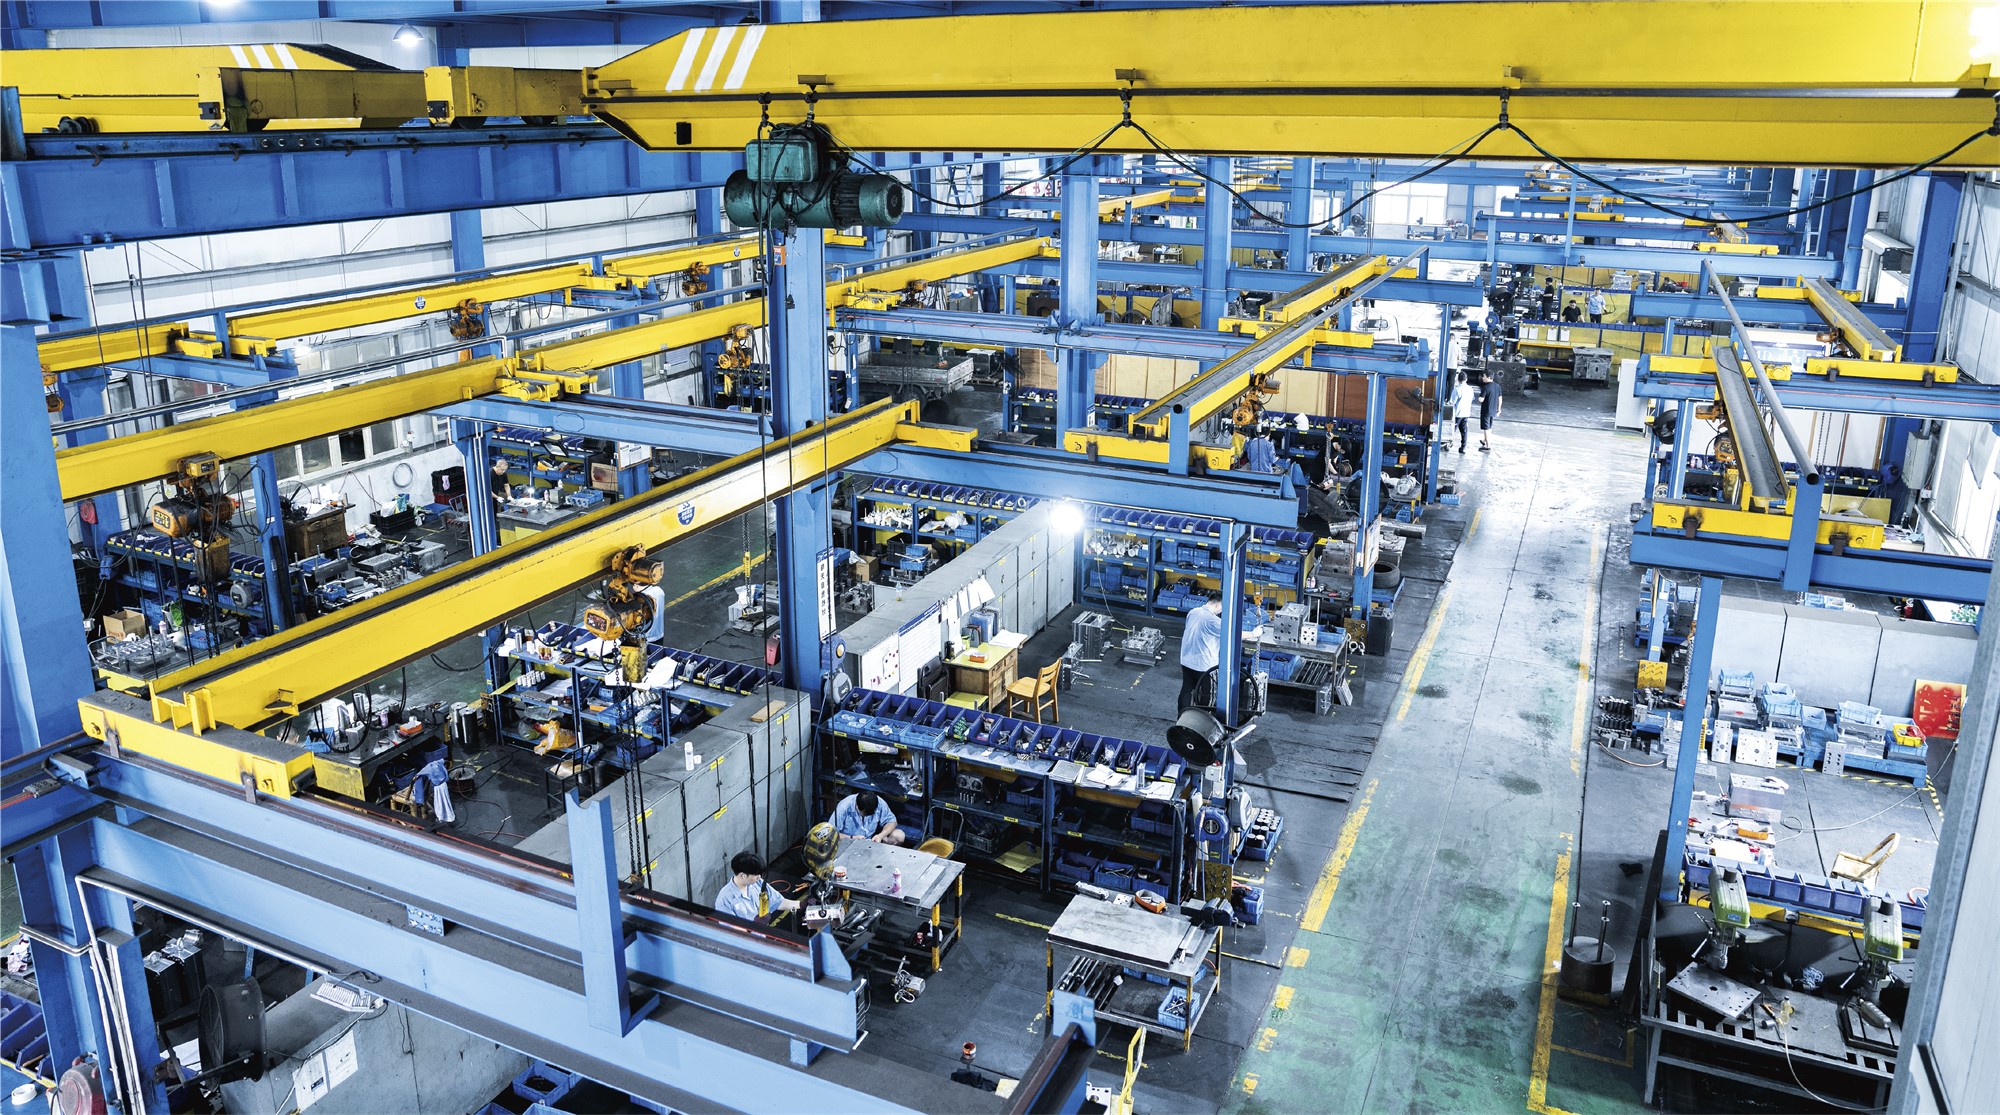
Ensure that the mold parting surface is parallel to the moving and fixed plates of the injection molding machine to avoid mold deformation caused by uneven force during installation.
Step 3: Fixing the Mold and Precise Alignment
Fixing the Fixed Mold
After the fixed mold is close to the plate of the injection molding machine, initially fix it with hexagon socket bolts (do not tighten them first). The bolt specifications must match the mold installation holes (such as M16, M20), and the number of bolts should not be less than 4 (additional fixing points are required for large molds).
Adjusting the Position of the Moving Mold
Start the injection molding machine, slowly close the mold until the machine plate is close to the mold, adjust the position of the moving plate so that the installation holes are aligned with the screw holes of the moving plate.
Initially fix the mold with bolts to ensure that the mold has no deviation in the mold-closed state and the parting surface fits evenly.
Step 4: Connecting Auxiliary Systems
Cooling Water Connection
According to the water channel marks on the mold (such as "IN" "OUT"), connect the high-pressure hose to the cooling water interface of the injection molding machine to ensure that the water circuit is unobstructed and free of leakage.
Pay attention to the direction of the water circuit to avoid the hose being tangled or squeezed by the mold. Large molds require separate cooling control (for example, the cavity and core are connected to independent water circuits respectively).
Pneumatic/Hydraulic System Connection (For Molds with Core Pulling)
If the mold is equipped with a hydraulic core pulling or pneumatic ejection mechanism, it is necessary to connect to the corresponding hydraulic station or air source of the injection molding machine, check the tightness of the pipeline interfaces, and debug the sequence of core pulling actions.
Molds with limit switches or sensors need to connect signal to the injection molding machine's control system to ensure accurate signal feedback.