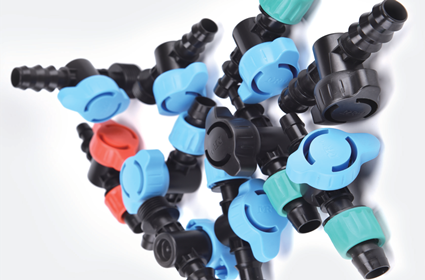
Mini Valve And Fittings
Mini valves and fittings are a type of fluid control component designed specifically for small flow rates, compact spaces, and high-precision control
Cleaning: Before installation, it is essential to ensure that all components (joints, valves, clamps, pipe inner and outer walls) are extremely clean! Pollutants are the main cause of small system leaks and malfunctions. Clean with a lint free cloth and a suitable solvent (such as isopropanol), paying attention to solvent compatibility.
Pipeline preparation:
Cutting: Use a specialized pipe cutter for vertical cutting, ensuring that the incision is flat, free of burrs, and dents. It is absolutely prohibited to use ordinary saws or grinding wheel cutting machines, as they will produce a large amount of burrs and deformations.
Deburring: After cutting, specialized deburring tools must be used to thoroughly remove burrs on the inner and outer walls. Burrs can scratch the sealing surface, jam the valve core, or cause blockage due to detachment.
Straightening: Ensure that the pipeline is as straight as possible at the joint to avoid stress.
Assembly sequence (taking sleeve connectors as an example - the most common and prone to errors):
Insert in sequence: Insert the rear sleeve (larger angle) and front sleeve (smaller angle) into the pipeline in sequence. The direction must not be wrong!
Insert connector body: Fully insert the pipeline into the connector body, top to bottom.
Pre tightening: Tighten the nut onto the joint body by hand until resistance is felt.
Marking: Make a mark on the nut (align with a point on the joint body).
Final tightening: Use two wrenches (one to fix the joint body and the other to tighten the nut). Tighten the nut 1.25 turns (usually 1 and 1/4 turns, but be sure to follow the specific brand instructions! Different brands have different requirements for the number of turns). Just move the marked point about 1.25 circles. Do not overtighten! Excessive tightening can crush the sleeve and pipeline, causing permanent deformation and leakage, and even damaging the joint. The goal is to produce precise plastic deformation of the card sleeve to form two sealing lines.
Torque control (if specified): For certain critical applications or brands, it may be required to use a torque wrench to tighten to the specified torque value. This is more accurate than the circle counting method.
Valve installation:
Pay attention to fluid flow direction markings (if any), especially one-way valves and pressure reducing valves.
Avoid applying excessive pipeline stress to the valve. Use support when necessary.
When manually operating the valve, apply moderate force to avoid rough operation that may damage the valve stem, valve core, or seals. Do not tighten the needle valve excessively when closing.
Testing: After installation, strict leak testing must be conducted! Typically, inert gases (such as nitrogen) and leak detectors (soap water) with pressures lower than the system's operating pressure or more sensitive leak detectors (helium mass spectrometer leak detectors) are used. Pressure holding test is also important.
Use specialized tools: It is strongly recommended to use manufacturer recommended or high-quality specialized tools (pipe cutters, deburring tools, wrenches).
Follow the instructions: The most important principle is to strictly follow the specific product installation instructions provided by the manufacturer! The installation requirements for different brands and types of joints and valves may vary.