Every warm imagination of home should be grounded in a reliable and enduring reality. Choose underfloor heating and choose a philosophy of constant temperature living that is free from smoking and everlasting.
Not just for construction,
It is also a triple guarantee system
ERA underfloor heating has established a three in one service system of "professional construction+after-sales support+service management", ensuring that every link is traceable and traceable.
Professional construction has a basis
Standardized processes, compliant materials, free design, and node acceptance ensure that the entire construction process is standardized and transparent.
The after-sales service of the product is guaranteed
Three exemptions and one commitment+dual warranty+service card system, after-sales problems are based on evidence and will not be shirked.
One on one service management
Establish a "one household, one file" construction log, manage the entire process digitally, with traceable progress, traceable processes, and assessable services.
Construction of underfloor heating in ERA: 13 professional steps, each step is significant
Establish a 13 step standardized construction process based on the JG "142<
Part 1: Preliminary preparation, laying the foundation
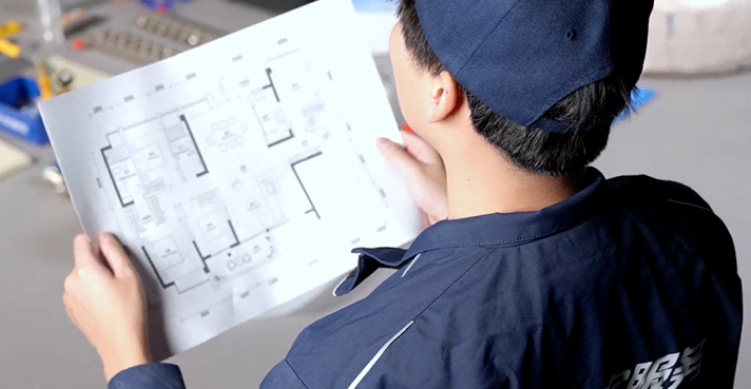
1. Professional scheme design
Conduct on-site measurements, customize piping diagrams based on the layout of the unit, optimize the layout of the water collector, confirm the plan before construction, and provide installation drawings to follow.
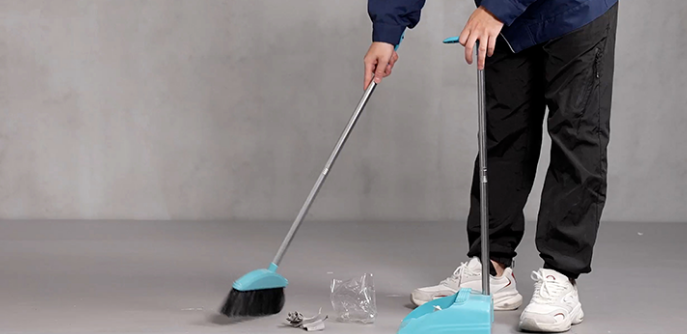
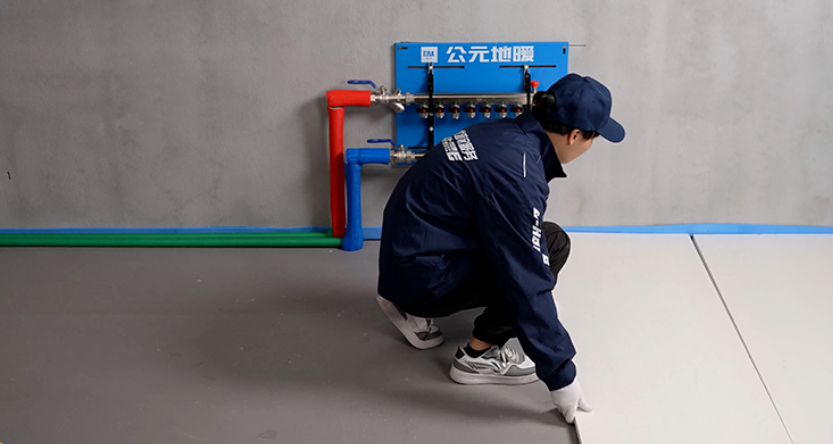
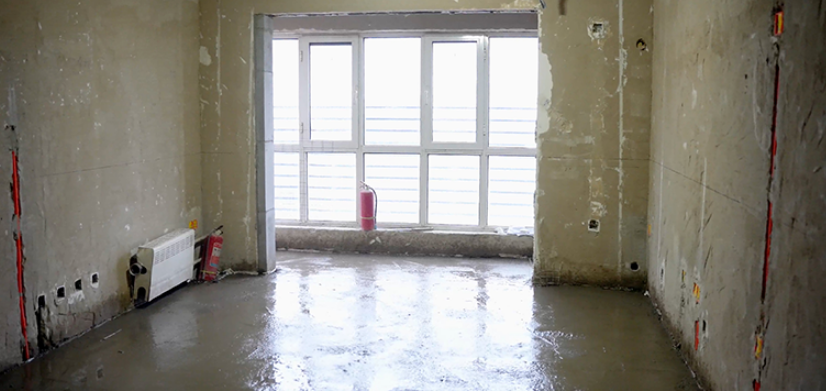
2. Construction site cleaning
Clean up debris on the ground, check the flatness of the ground,Ensure that the construction site meets the operational standards.
3. Verification of construction materials
Verify all main and auxiliary materials and tools, classify and stack them to ensure that the materials are intact and complete.
Part 2: Core laying, precise construction
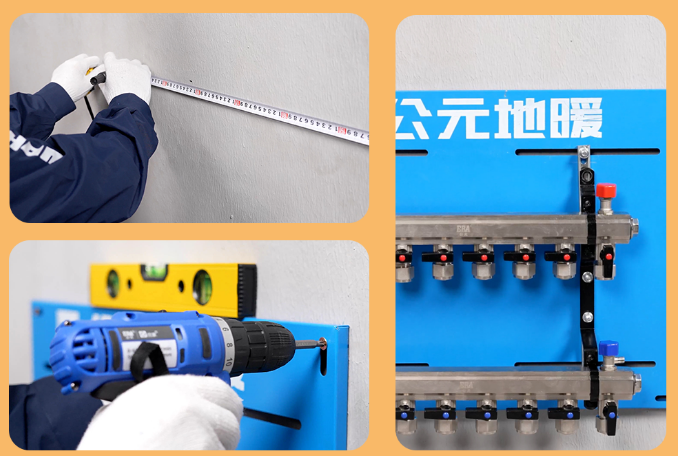
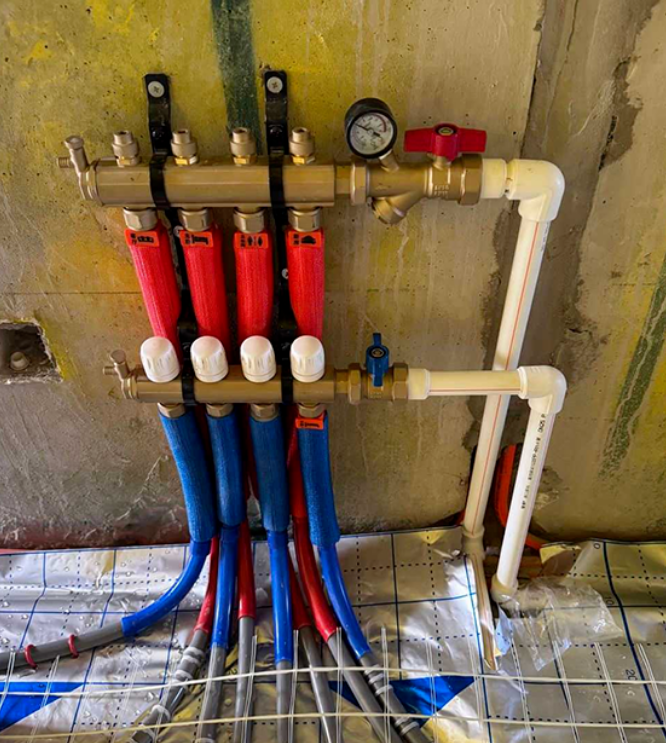
4. Installation of water separator
① Determine the position of the backboard
Measure with a ruler and determine the position of the water collector backplate, avoiding areas where pipelines intersect
② Backboard fixation
Use expansion bolts to fix the backboard to the wall, with a bolt spacing of 500mm
③ Install a water separator
Horizontal installation of the water collector, the wall should be a load-bearing wall, the installation height should not be less than 60cm, and it should be firmly fixed to ensure that there is no leakage at the interfaces of the inlet and outlet valves
5. Main pipeline laying and insulation
Use a specialized hot melt machine for welding PPR main pipelines and lay boundary insulation strips to reduce heat loss.
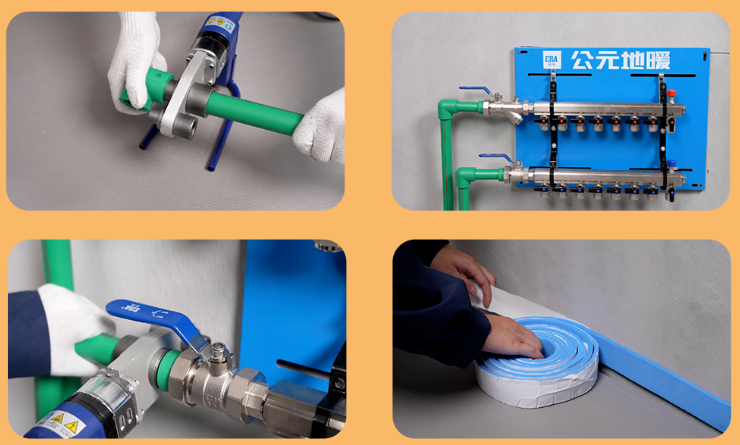
6. Laying of insulation board
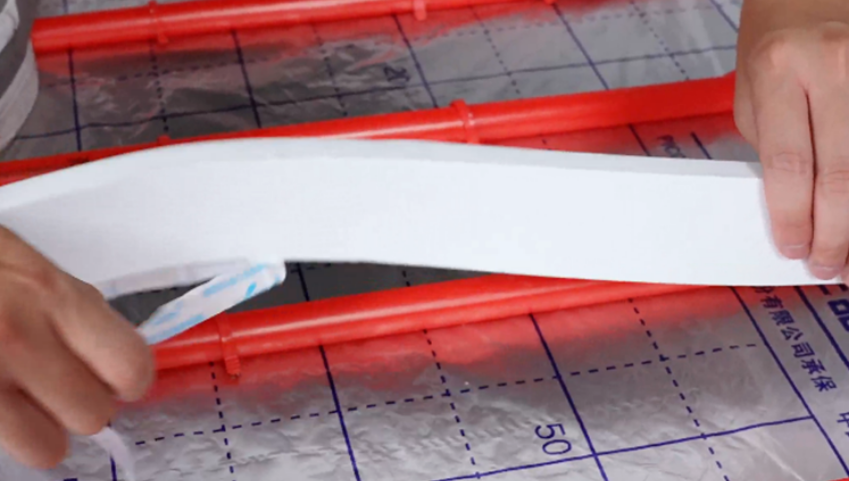
Fully covered with white crystal insulation layer, aluminum foil tape is used at the joints to effectively lock in heat loss.
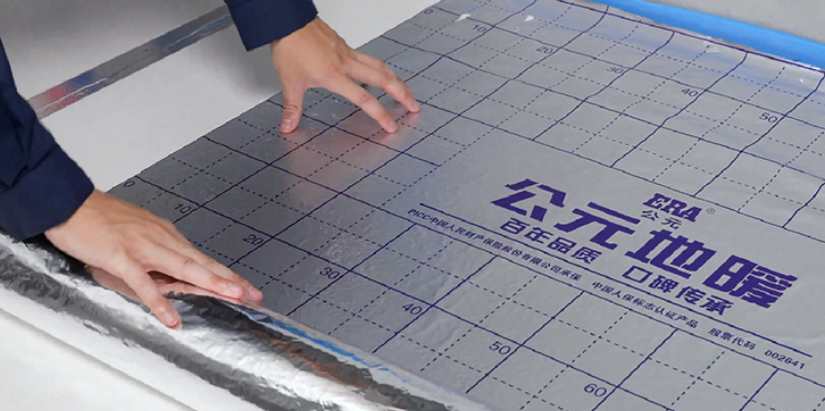
7. Reflection layer paving
Use mirror or pure aluminum reflective film, lay it flat on the surface of the insulation board by overlapping, and tightly stick the edges with aluminum foil tape.
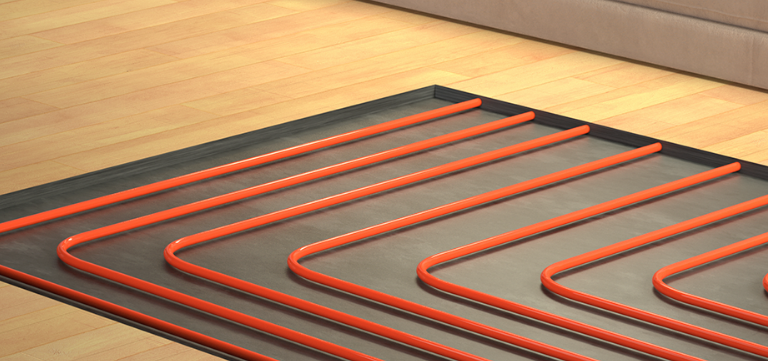
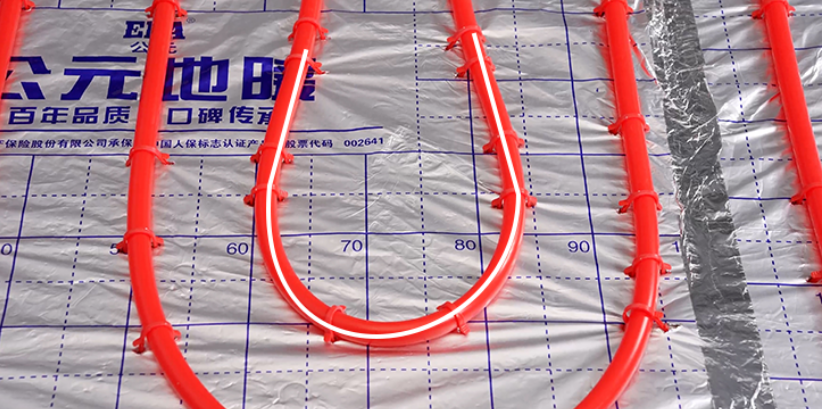
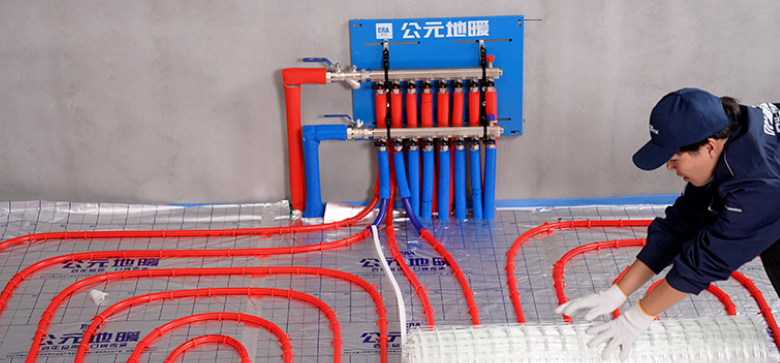
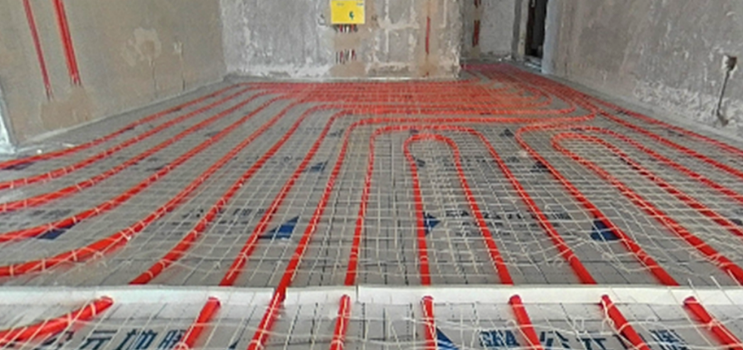
8. Installation of underfloor heating coils
According to the design drawing, lay the pipes in a loop shape, and use the "water droplet" process at the bend to avoid dead bends.
9. System waterway connection
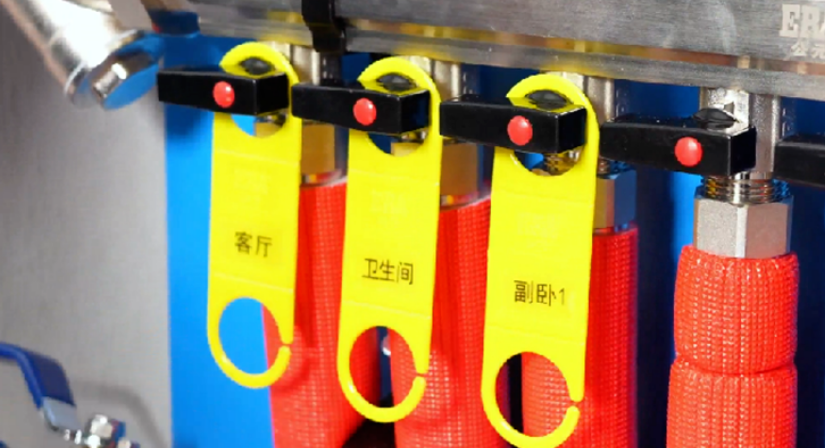
Standardize the connection between each pipeline and the water collector, install protective bends and insulation pipes, and mark the waterway for daily convenience
10. Fixation of expansion joint strips
Install expansion joint strips in areas with an area exceeding 30m2 or a side length exceeding 6m to effectively absorb the thermal expansion and contraction stress of the concrete layer and prevent ground cracking.
11. Laying of Silicon Crystal Mesh
Laying silicon crystal mesh to enhance the strength of the backfill layer, causing ground cracking.
Part 3: System Acceptance and Closing
12. System pressure test acceptance
Strictly conduct pressure testing in accordance with national standards (working pressure 1.5 times, stable pressure for 30 minutes) to ensure that the pipeline system is leak free and pressure bearing qualified, and record and preserve the panoramic pipeline diagram with VR recording. Clean up the site after construction, fill out and deliver the
13. Professional backfilling and maintenance
Use pea gravel concrete for standard backfilling, naturally cure for more than 48 hours, ensure a solid and flat ground, and protect the pipeline system.
Tips for safe use and maintenance
The completion of construction is not the end, proper use and maintenance are equally crucial:
It is strictly prohibited to drill or nail on the underfloor heating floor to prevent damage to pipelines.
When there is no heating in winter, use a water pump to drain the water from the underfloor heating pipes to prevent them from freezing and cracking.
During non heating seasons, it is recommended to maintain the system with full water to prevent pipeline oxidation.
Regularly clean the filter screen at the front end of the water separator to ensure smooth water flow.
If not used for a long time in winter, the pipeline should be emptied of water to prevent freezing and cracking.
A starting point for achieving lasting warmth through professionalism
Professional underfloor heating construction in ERA,
Set the tone with standards and end with ingenuity.